Using The SCOPE-TRU ALIGNMENT BAR To Align Windage Adjustable Cross-Slot Style Rings
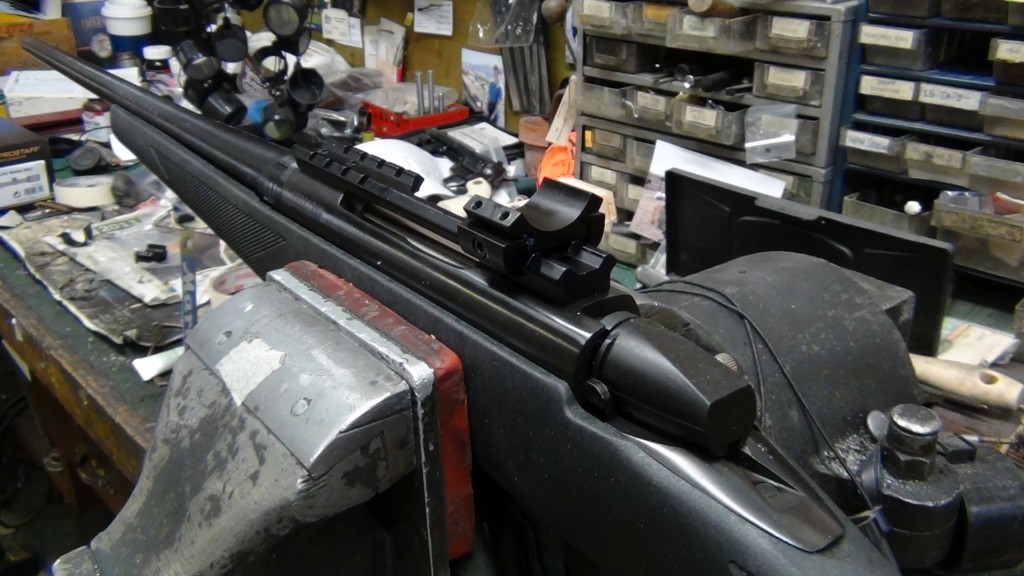
- Bottom Half Of Windage Adjustable Rear Ring Is Now Installed On The Base
- Bottom Half Of Windage Adjustable Front Ring Is Now Being Installed On The Base
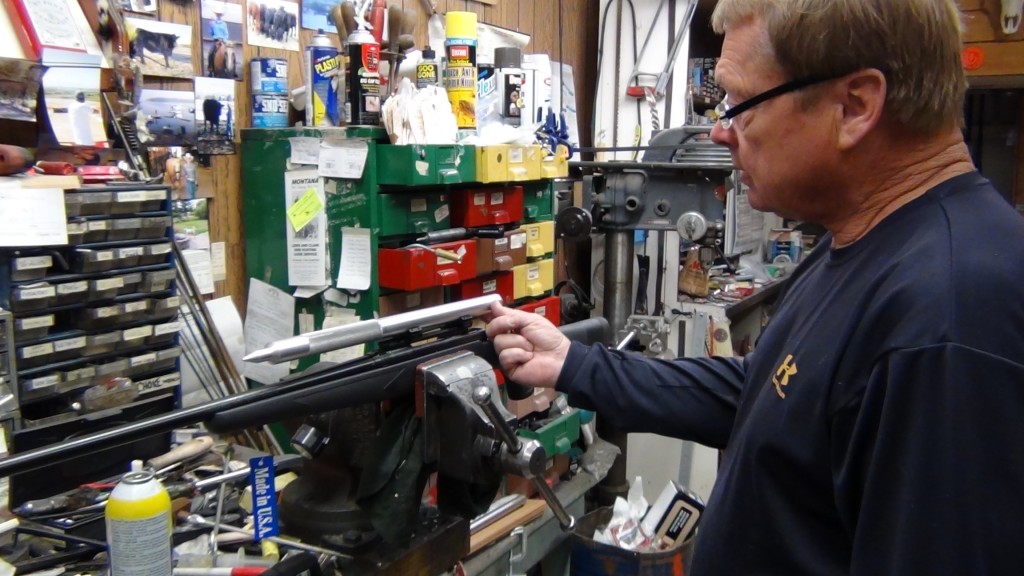
- Using The SCOPE-TRU To Align Both Front and Rear Rings Into A Parallel Alignment With The Barrel Axis
- SCOPE-TRU Laying In The Bottom Halves Of Both Rings--And Alignment Now Achieved
- Scope Is Now Placed Into The Bottom Of The Properly Aligned Ring Halves
- Installing Both The Front And Rear Ring Caps
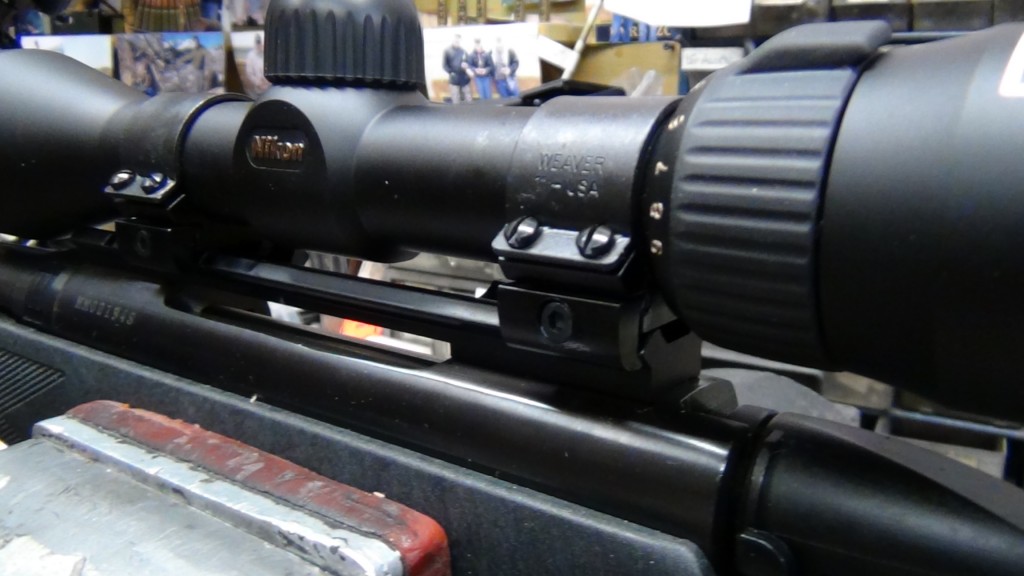
- Scope Is Now Installed So That It Is Properly Aligned With The Barrel Axis
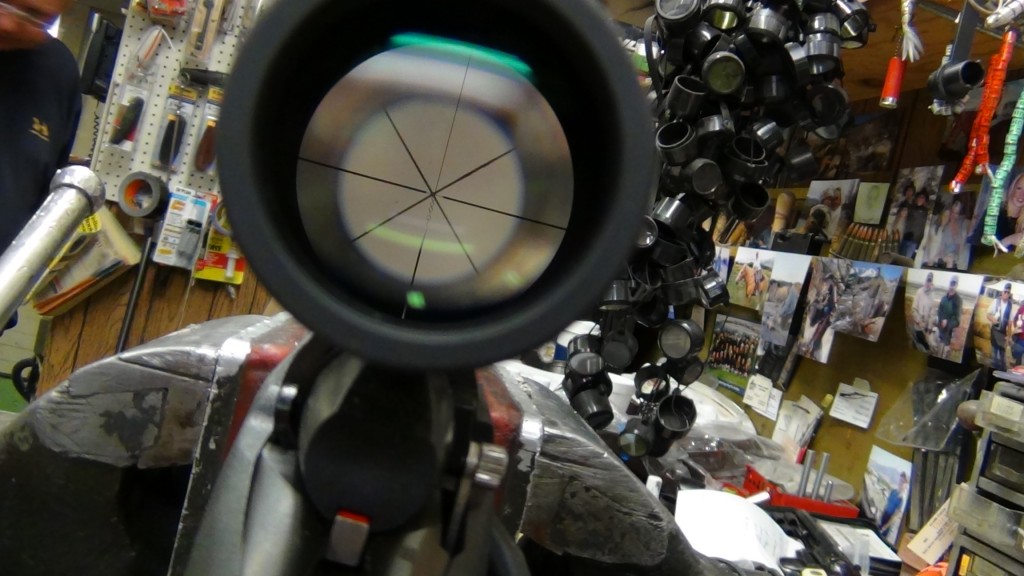
- Alignment Of Reticle Using The Sweany Site-A-Line Collimator
- Scope Mounting Installation Is Complete And Rifle Is Ready For The Customer
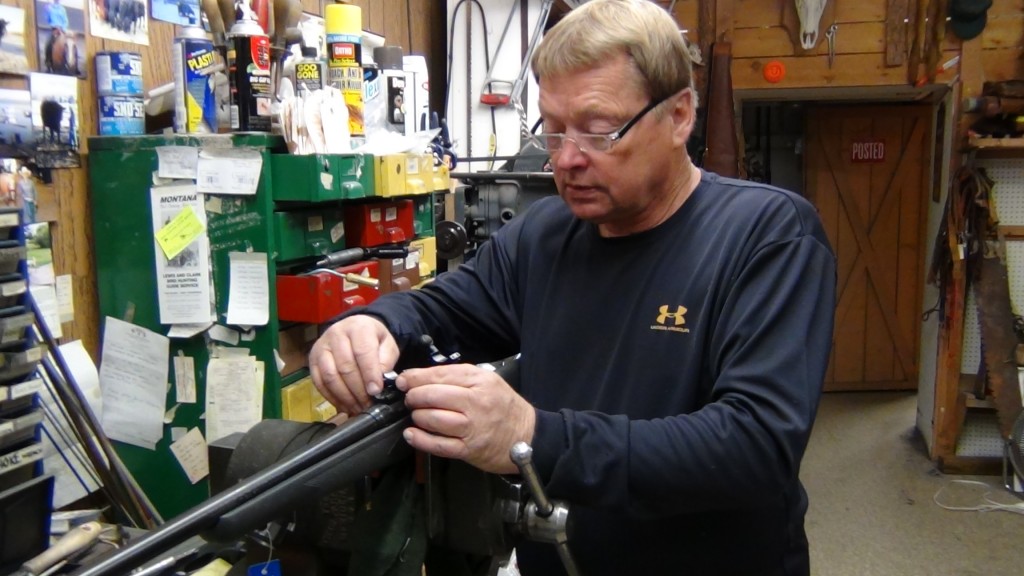
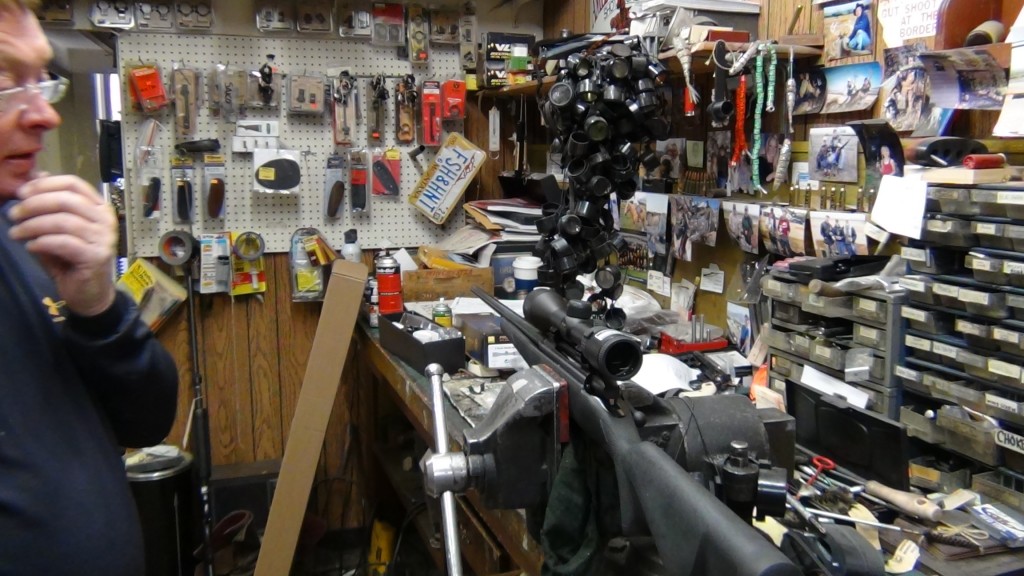
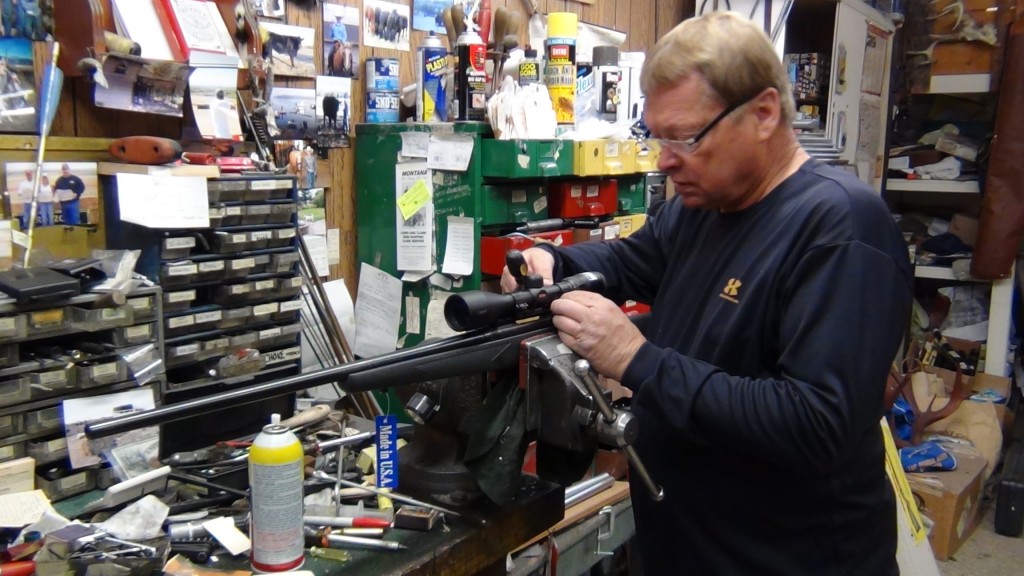
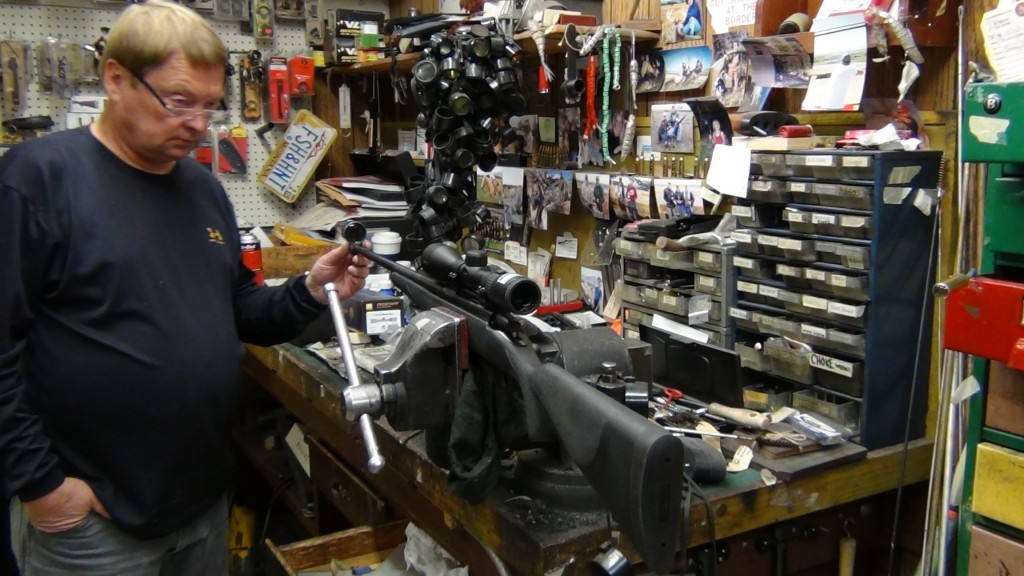
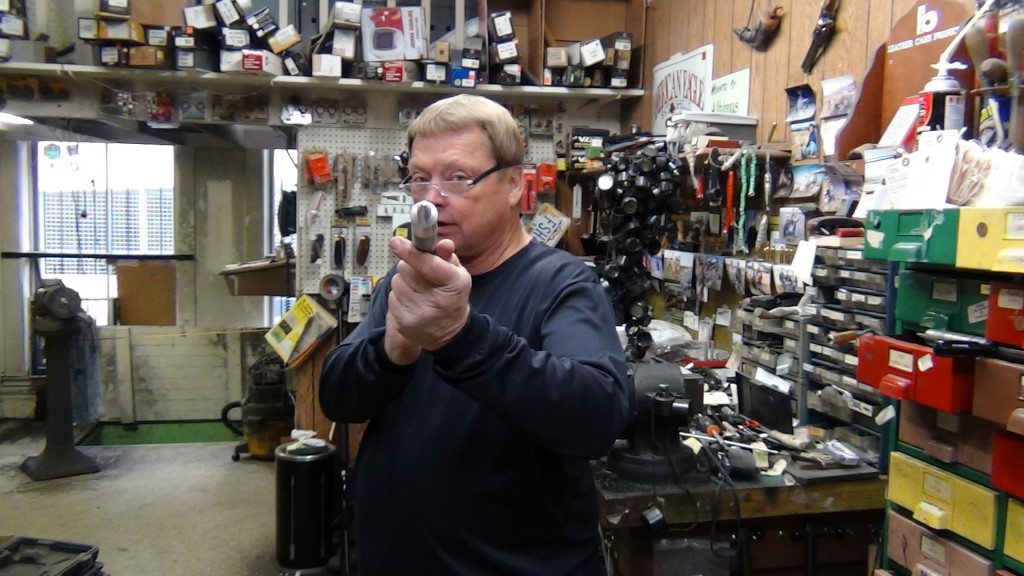
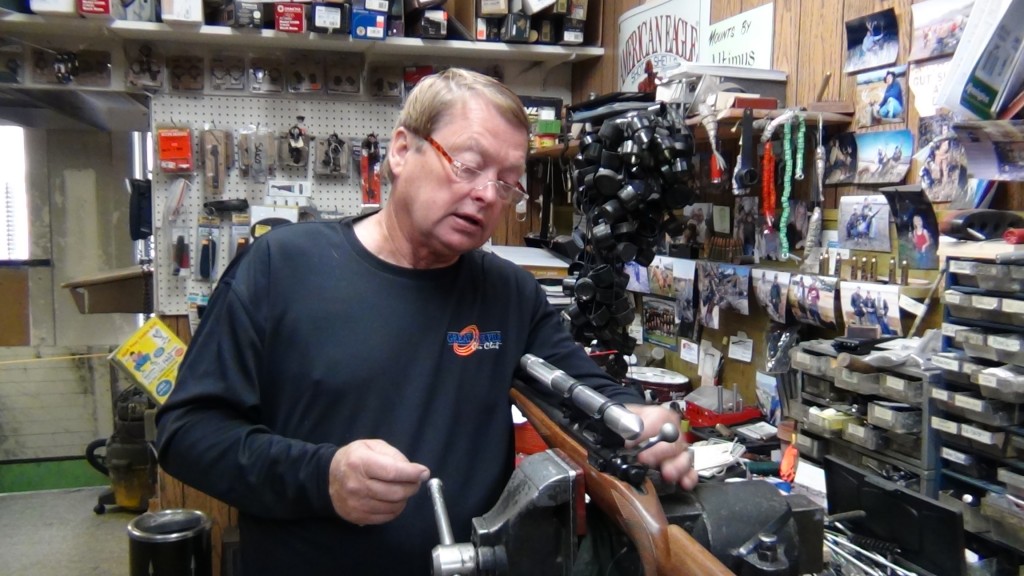
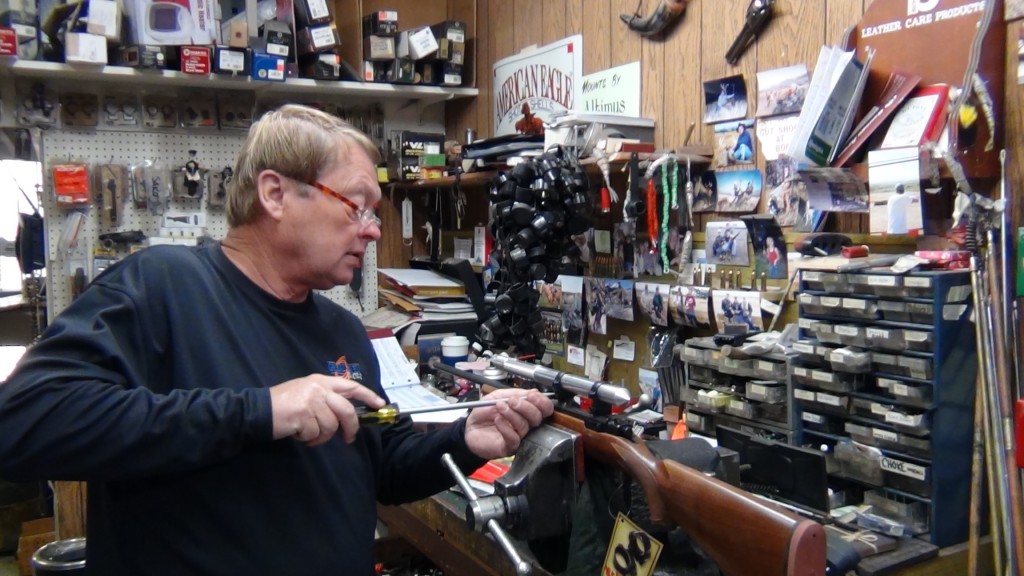
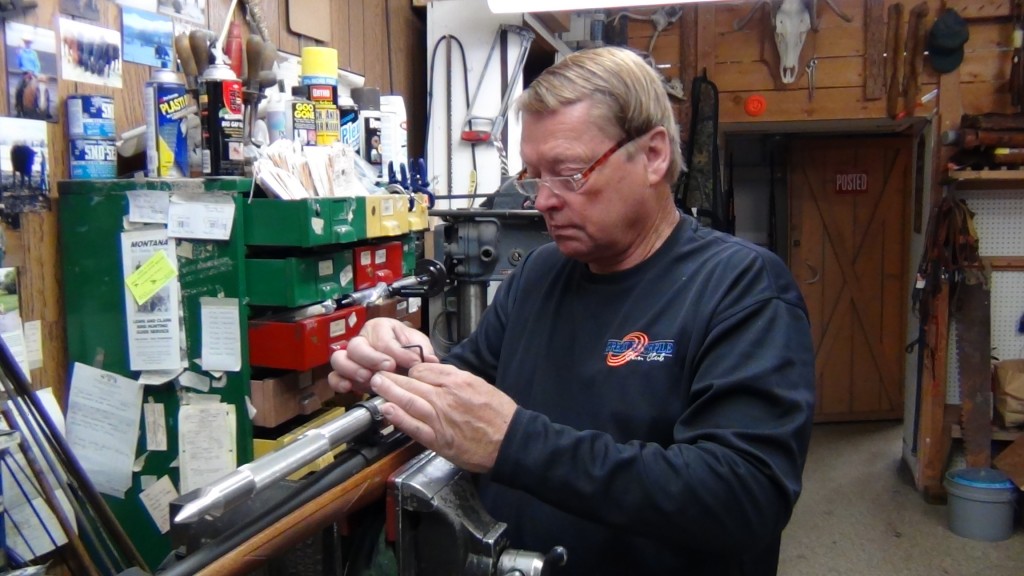
- A Veteran Installer Explaining How To Use The SCOPE-TRU ALIGNMENT BAR
**********
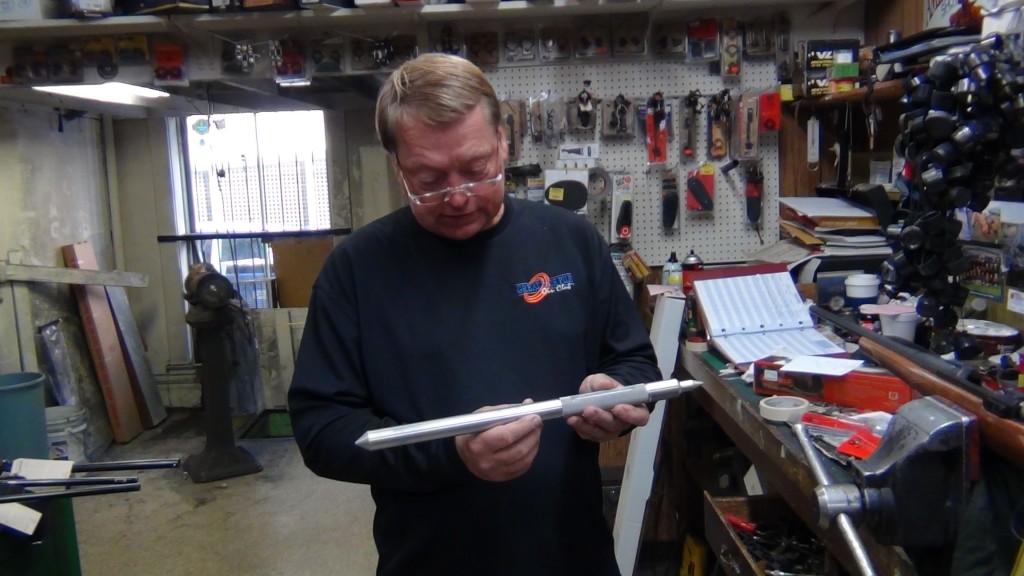
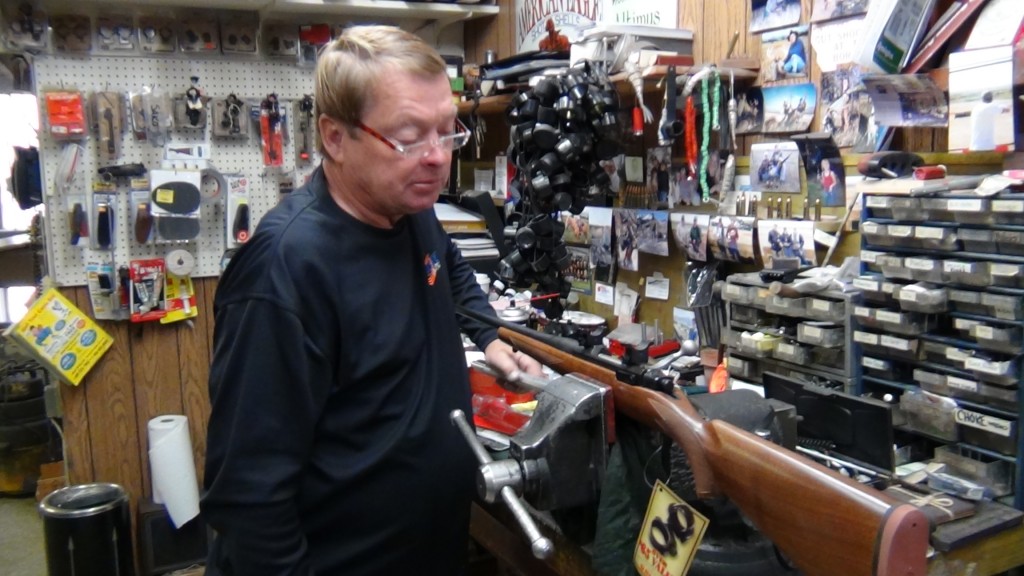
- A Veteran Installer Preparing To Use The SCOPE-TRU ALIGNMENT BAR
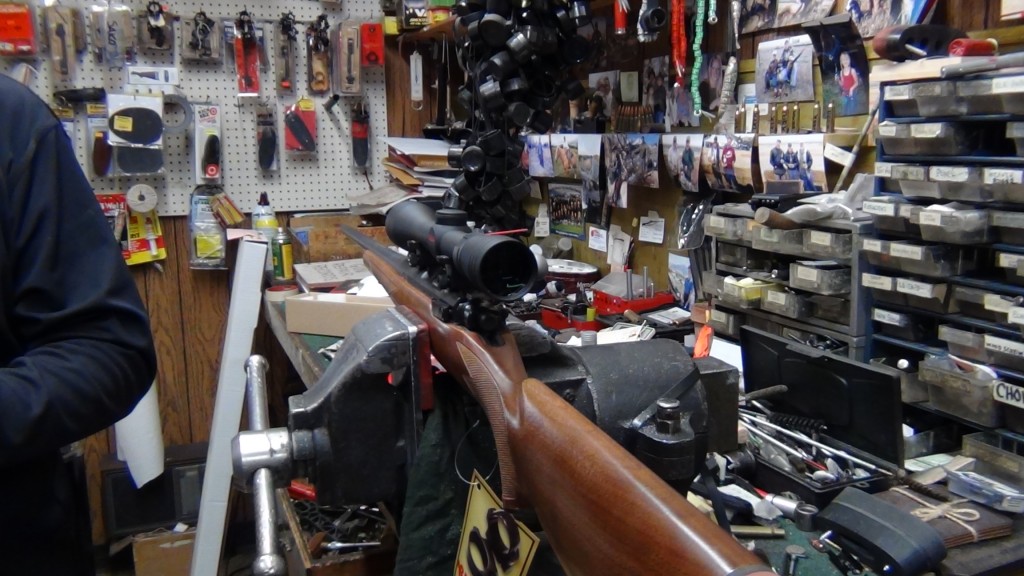
- Bottom Halves Of Both Front And rear Rings Are Loosley Set On The Receiver And Ready For The SCOPE-TRU
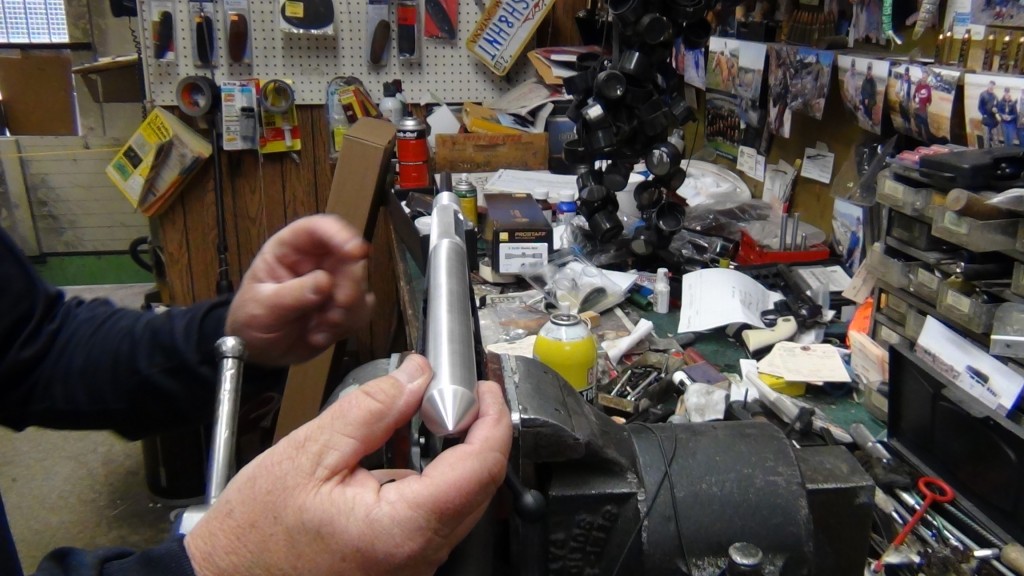
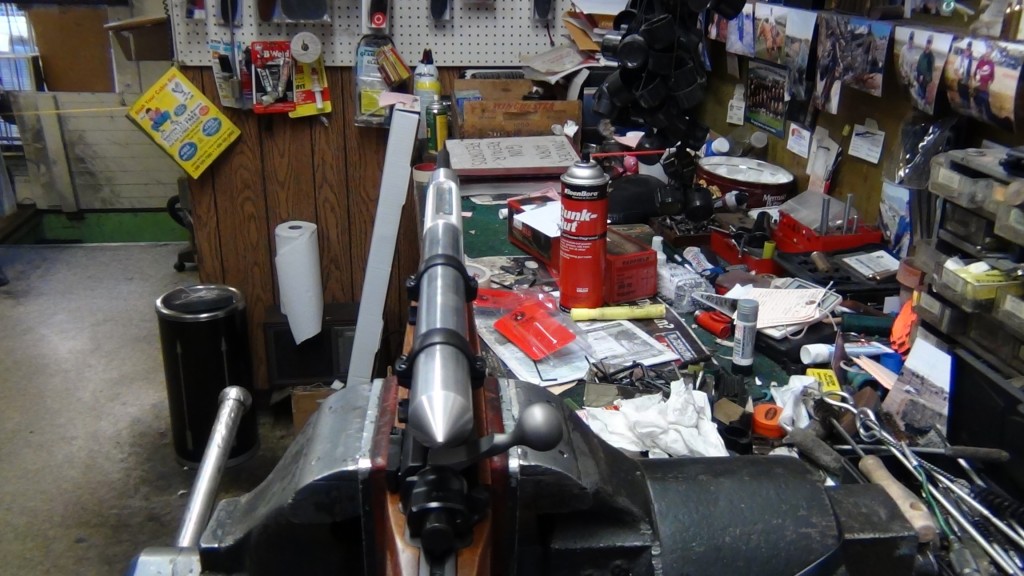
- SCOPE-TRU Is Now Mounted Within Both Rings In Order To Achieve "Ring To Ring" And "Ring To Barrel" Axial Alignment
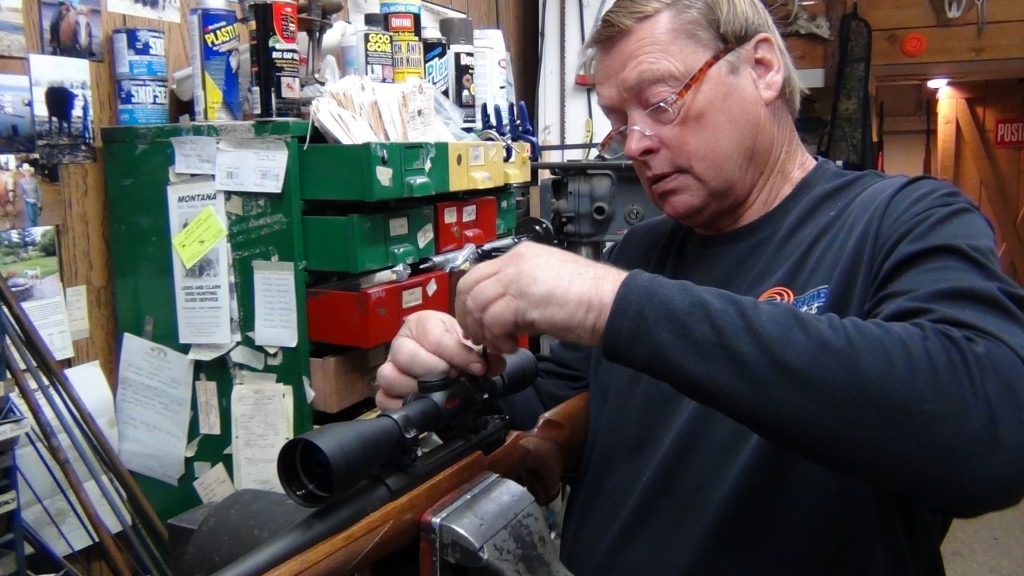
- Final Tightening Of Ruger Rings So That Alignment Can Be Checked
- SCOPE-TRU ALIGNMENT BAR Showing The Axial Alignment Of Rings To Barrel
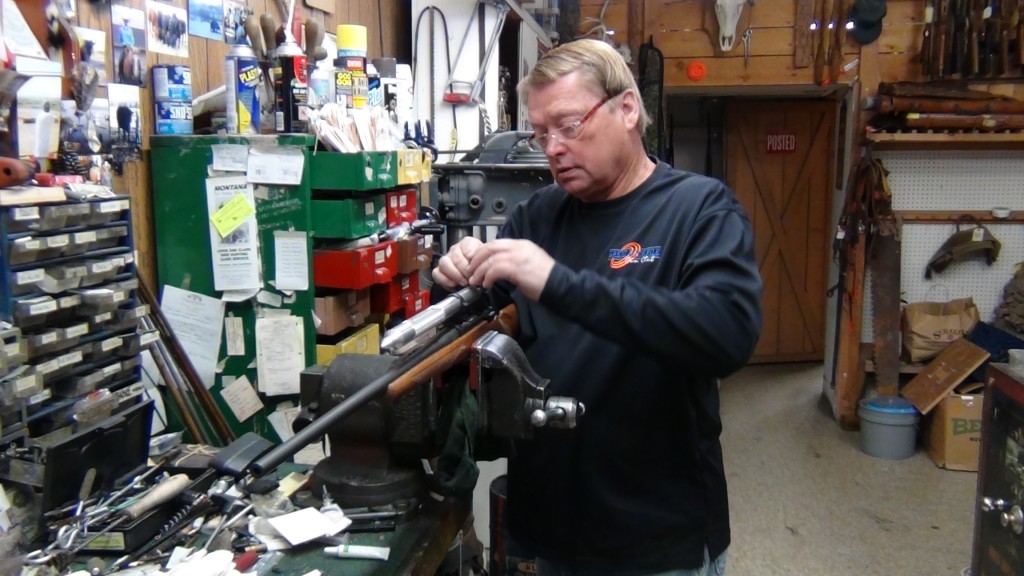
- Preparing To Remove The SCOPE-TRU ALIGNMENT BAR
- Removing The SCOPE-TRU ALIGNMENT BAR After Using It To Assist In Aligning And Checking The Alignment Of The Rings
- Scope Is Now Set Into The Bottom Of THe Ring Halves
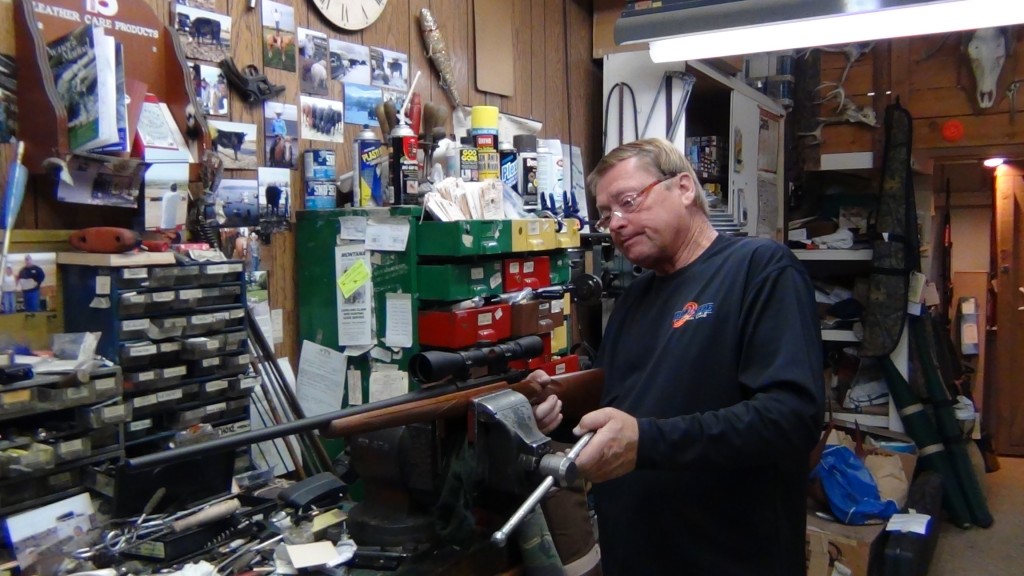
- Installing The Ring Caps
- Scope Mounting Completed And Rifle Is Now Ready For The Customer
Content Copyright (c) 2012 – 2026 Parabola-llc.com All Rights Reserved
